


Your Complete Metal Roofing Installation Guide
A successful metal roof project is built long before you ever step onto the roof. It all starts with a solid plan. Taking the time to budget correctly, understand local building codes, and be honest about your own skills is what separates a smooth installation from a costly, frustrating nightmare.
Planning Your Texas Metal Roof Installation
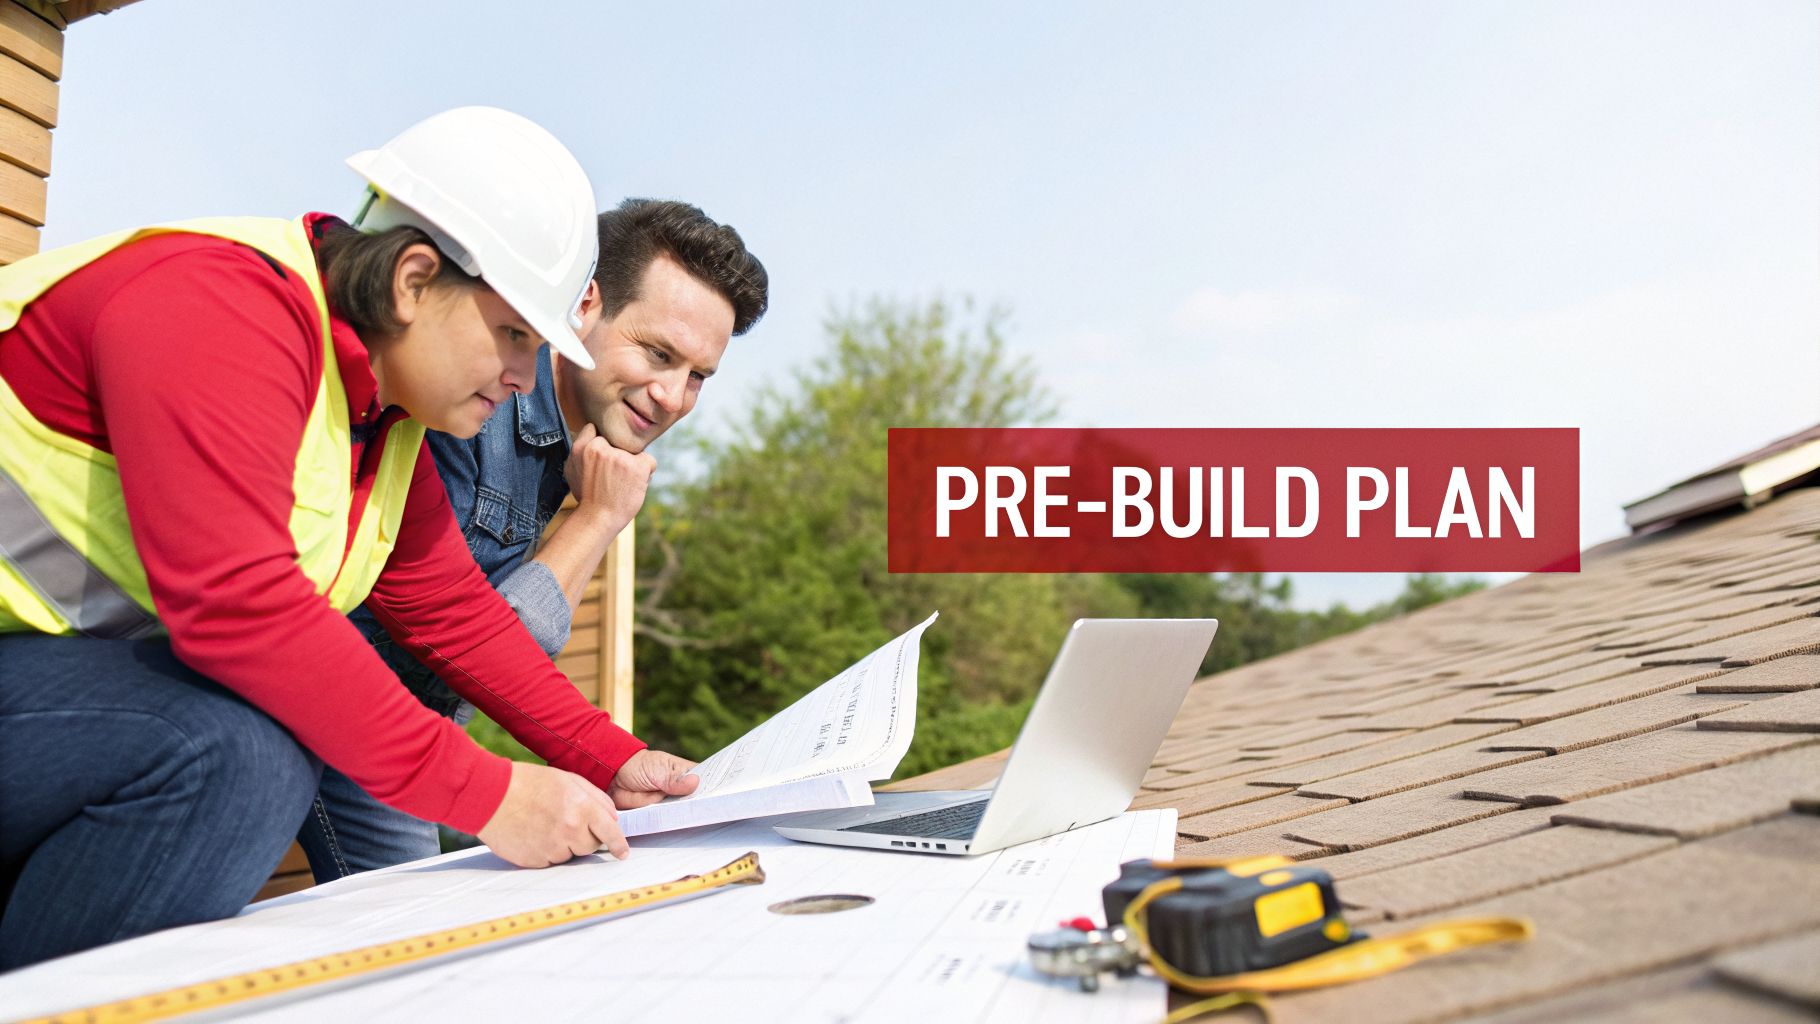
Before you order a single panel, it’s crucial to get your ducks in a row. A well-laid-out plan is your roadmap—it prevents those "what have I gotten myself into?" moments and ensures the finished product is a durable, long-lasting investment.
This isn't just about picking a color you like. Planning means thinking specifically about the challenges your roof will face right here in Texas. Between the relentless sun, fierce winds, and the ever-present threat of hail, a roof in Dallas or Tyler needs to be tougher than one in a milder climate. Your plan has to account for that from day one.
Navigating Local Codes and Permitting
Your very first phone call should be to your city or county building department. Every municipality in the Dallas-Fort Worth metroplex and across East Texas has its own set of rules, and they are especially strict about wind and hail resistance.
- Wind Uplift Requirements: Don't be surprised if your city mandates a specific fastener pattern or requires interlocking panels. These codes are designed to keep your roof attached during the high winds common in Texas thunderstorms.
- Impact Resistance: In hail-prone areas (which is most of North and East Texas), a Class 4 impact rating might be the minimum standard, not just an upgrade. This is a huge factor in which materials you can even consider.
- The Permitting Process: You’ll need to find out exactly what permits are required, how much they cost, and when inspections need to happen. Trying to fly under the radar without a permit is a recipe for disaster—it can lead to hefty fines and, in the worst cases, an order to tear off all your hard work.
Pro Tip: When you go to pull a permit, don't just show up empty-handed. Have all your material spec sheets ready—for the panels, underlayment, and even the fasteners. The building inspector will want to see proof that your chosen system meets local code. Being prepared like this can save you from major delays.
It's no surprise that demand for these heavy-duty roofing systems is exploding. The global metal roofing market is expected to jump from USD 22.55 billion in 2024 to USD 32.83 billion by 2032. Homeowners are tired of replacing their roofs after every storm. Here in Texas, opting for those Class 4 impact-rated panels not only gives you peace of mind but can also earn you an insurance premium discount of 15-35%.
Budgeting and Timeline Realities
A realistic budget is more than just the price of the metal panels. You have to factor in everything: underlayment, screws, flashing, sealants, trim pieces, and any tools you need to rent or buy.
I always tell people to add a 10-15% contingency fund on top of their total estimate. You never know what you'll find when you tear off the old roof—rotted decking is a common and costly surprise.
Your timeline needs to be just as realistic. In Texas, you have to plan for weather delays. A week of rain can throw your whole schedule off. Also, check on material lead times; custom colors or specialty panels can take several weeks to arrive. And if you have solar panels, don't forget to coordinate the detach-and-reset process with a qualified solar company, which adds another step to your project timeline.
DIY vs. Professional: An Honest Assessment
This is the time for some real honesty. Are you truly equipped for this job? A simple, single-story gable roof might be a manageable project if you have serious construction experience.
But the moment you introduce a steep pitch, a second story, or a complex roofline with lots of hips, valleys, and dormers, the difficulty and danger increase exponentially. This is where small mistakes can lead to big, expensive leaks.
If you have any doubt at all, it's always best to call in a professional. A reputable contractor like Hail King Professionals will often provide a free inspection and give you an honest take on the project's complexity. Making the right call here is critical, and this guide on how to choose a roofing contractor is a great resource to help you find a trustworthy expert.
Selecting the Right Materials and Tools
The strength of your new metal roof comes down to the sum of its parts. Here in Texas, where we get everything from blistering sun to sudden, violent storms, choosing high-quality components isn't just a good idea—it's the only way to ensure your roof lasts. Think of it as a complete system; the panels, underlayment, fasteners, and even the paint all have to work together.
Cutting corners on materials is a recipe for disaster. I’ve seen it happen. A roof that looks great on day one can start to fail within a few years if the wrong choices were made. Let's walk through what you actually need to build a roof that can stand up to the Texas climate.
Choosing Your Metal Panel Profile
Your first big decision is the type of metal panel you'll use. For most homes around Dallas-Fort Worth and East Texas, this usually boils down to two main options: standing seam or an exposed fastener system like R-panel.
-
Standing Seam: This is the top-of-the-line choice for a reason. The panels are joined by a raised, interlocking seam that completely hides the fasteners from the weather. With no exposed screw heads, you eliminate thousands of potential leak points. It’s the best option if you're looking for a clean, modern look and want a roof that's truly built for the long haul.
-
R-Panel (Exposed Fastener): You’ll see this profile more often on barns or commercial buildings, though some people use it residentially. The panels overlap, and you drive screws straight through the face of the metal into the roof deck. It's certainly a more budget-friendly route, but all those exposed screws have rubber washers that will inevitably dry out, crack, and degrade under our intense sun, creating future maintenance headaches.
For homeowners wanting a "one-and-done" solution, the upfront investment in a standing seam system almost always pays off in reliability and peace of mind. Before you lock in your choice, it’s worth getting familiar with the broader landscape of roofing materials protection.
The Unsung Heroes Underneath
What you put under the metal is just as critical as the panels themselves. This is your second line of defense, and in our climate, it's non-negotiable.
Synthetic Underlayment
Forget old-school asphalt felt paper. In the heat and humidity we get, it doesn’t stand a chance—it dries out, gets brittle, and fails. You absolutely must use a modern synthetic underlayment. This stuff is incredibly tough, tear-resistant, and provides a far superior water barrier. It can also handle UV exposure for weeks, a huge plus if a string of bad weather stalls your project. If you want to dive deeper, you can learn more about what roof underlayment is and its crucial role.
Kynar 500 Coating
When it comes to the paint finish on your panels, not all are created equal. You want a finish that's going to fight back against UV rays. Kynar 500® is the undisputed champion here. This resin-based coating is exceptionally good at resisting chalking and fading, which means your roof’s color will stay true for decades, not just a few years. It's a direct investment in your home’s curb appeal.
A classic rookie mistake is grabbing any old caulk from the hardware store for sealing gaps. You need a high-quality, tri-polymer sealant made specifically for metal roofing. It's designed to stay flexible as the panels expand and contract in the heat, preventing failed seals down the road.
Gathering the Right Tools for the Job
Working with metal requires specialized tools. Trying to "make do" with what you have for a wood project will lead to frustrating mistakes, sloppy cuts, and a roof that just doesn't look right. Having the correct equipment on hand before you even think about climbing the ladder is essential for both safety and quality.
Essential Tool Checklist:
- Safety Gear: This is non-negotiable. Get a good harness, a solid rope and roof anchors, and high-traction, non-slip boots.
- Cutting Tools: Invest in electric metal shears or a nibbler. They make clean, fast cuts without creating heat or burrs that damage the panel's coating. Never, ever use a circular saw with an abrasive blade—the hot metal filings will embed into the paint and create rust spots all over your new roof.
- Fastening Tools: A good screw gun with an adjustable clutch is vital. It allows you to drive fasteners to the perfect depth, seating the washer without over-tightening and damaging it.
- Bending and Seaming: If you're installing a standing seam roof, you'll need specialty hand seamers to lock the panel seams together correctly. A panel bender is also necessary for making clean hems on eaves and flashing details.
- Layout Tools: A chalk line, good measuring tapes, and a framing square are your best friends for keeping everything straight, square, and professional-looking.
Renting or buying the right tools might seem like an extra expense, but it’s what separates a professional-grade job from an amateur one. It makes the work safer, faster, and ensures the finished product is something you can be proud of.
The Hands-On Metal Roof Installation Process
Alright, with your materials picked out and your tools lined up, it’s time to get your hands dirty. This is where the planning stops and the building begins. I’ll walk you through the actual installation, where careful work and an eye for detail are what separate a roof that lasts a lifetime from one that causes headaches.
Don't think of this as a race. Every single step, from prepping the wood deck to driving the last screw, builds on the one before it. If you rush, you risk compromising the whole system. A little patience now prevents a massive, expensive problem later.
Preparing the Roof Deck for a Solid Foundation
Your new metal roof is only as strong as the deck it's attached to. First things first: you need to prepare that surface. For nearly every home in Texas, this means a full tear-off of the old asphalt shingles. I know a "roof-over" sounds like a great way to save a buck, but trust me, it’s almost always a mistake.
Tearing off the old roof is the only way to get a good look at the plywood or OSB sheathing underneath. Years of our intense Texas weather can hide serious issues. You absolutely have to find and replace any wood that feels soft, spongy, or shows signs of rot. A weak deck won't hold fasteners securely, which completely undermines the roof's ability to withstand high winds.
Installing Underlayment and Drip Edge
Once your deck is clean, solid, and any bad spots are repaired, you'll lay down your secondary water barrier. This is where that high-quality synthetic underlayment comes in. Start rolling it out at the eave (the bottom edge) and work your way up to the ridge.
- Proper Overlap: Make sure each row overlaps the one below it by at least 6 inches. This creates a shingling effect so any water that gets under the panels just runs right off.
- Vertical Seams: Where the ends of two rolls meet, you'll want a much wider overlap—about 12 inches is standard.
- Fastening: Use plastic cap nails. They have a much better grip and are far less likely to tear the underlayment than regular roofing nails.
With the underlayment in place, you’ll install the metal drip edge along all the eaves and rakes (the sloped sides). This trim is crucial for kicking water out and away from your fascia boards, preventing rot. Here’s a key detail: the drip edge on the eaves goes on before the underlayment, but the drip edge on the rakes goes on over it.
Think of it as a complete system. This diagram shows how the pieces fit together.
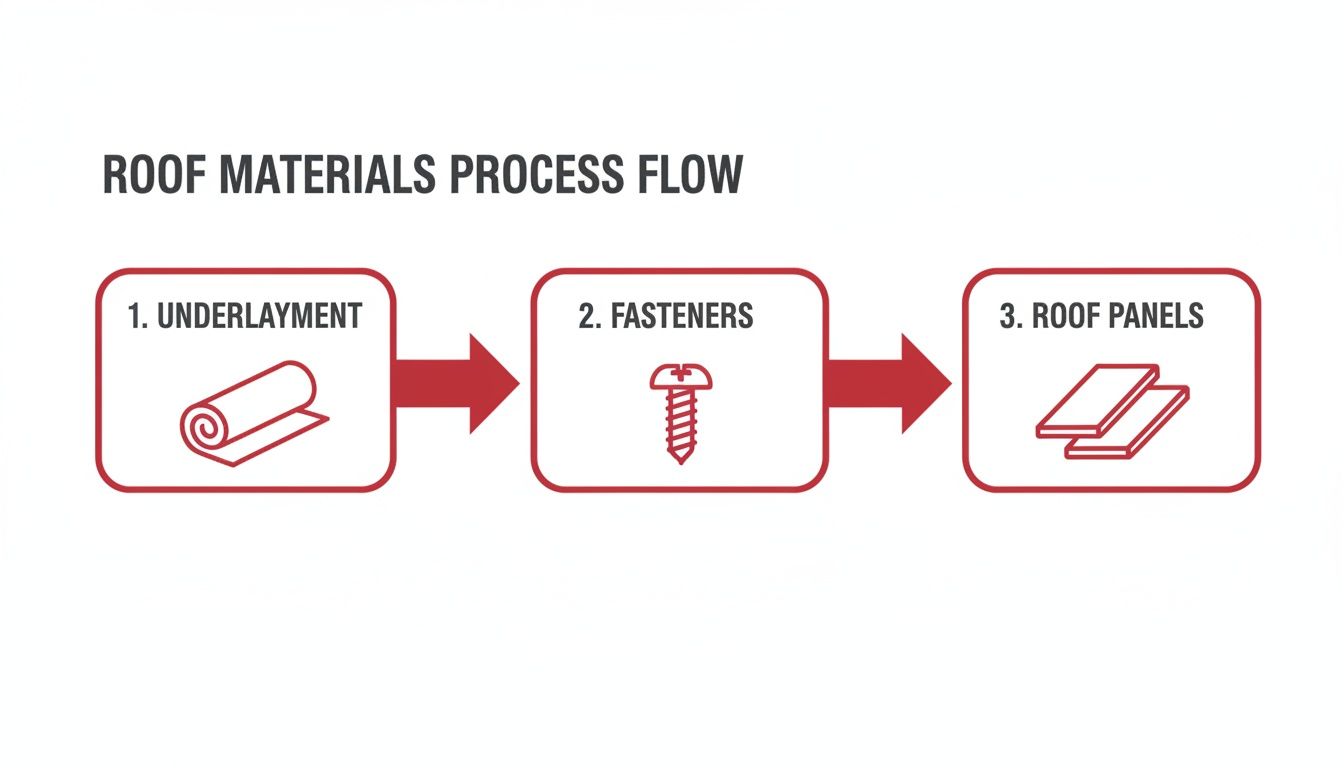
The underlayment is your safety net, the panels are the primary shield, and the fasteners hold it all together. They have to be installed in the right order to work.
Laying Out and Squaring the First Panel
Pay attention here, because this is probably the most important step of the entire job. If your very first panel isn't perfectly straight and square to the roofline, every panel that follows will also be crooked. The error gets bigger and more obvious with each row, and the final result will look sloppy and amateurish.
Start by measuring in from the rake edge at the top and bottom of the roof, then snap a perfectly straight chalk line. This is your guide. Do not just follow the edge of the roof—I’ve rarely seen one that’s perfectly straight.
Pro Tip: Use the 3-4-5 triangle method to make sure your layout lines are at a perfect 90-degree angle to the eave. Getting this wrong is a nightmare to fix without starting over. Measure twice, or even three times. Seriously.
Cutting and Flashing Around Obstacles
Most roofs aren't just big, empty rectangles. You're going to have pipes, vents, chimneys, and maybe skylights to deal with. This is where precise cutting and good flashing work are what keep the water out.
For clean, straight cuts, use electric metal shears. When you're cutting a hole for something like a pipe boot, measure carefully and always start with a smaller hole. You can always make it bigger, but you can’t make it smaller.
For trickier spots like valleys and chimneys, you'll need specialized flashing. Valley flashing is a W-shaped metal channel that goes in before any panels are laid. The panels are then cut at an angle to fit over the flashing, leaving a channel down the middle for water to flow freely.
Securing Panels and Managing Thermal Movement
Proper fastening is non-negotiable, especially with our Texas temperature swings. Metal expands in the heat and shrinks in the cold. If you don’t account for this thermal movement, the panels can buckle or get a wavy look known as "oil canning."
Standing seam systems manage this with clips. The clips are screwed to the roof deck, and the panels lock onto them, allowing the metal to slide slightly as temperatures change.
With exposed fastener panels, the screws you use and how you drive them are everything. Use the right self-drilling screws with neoprene washers. Drive the screw just until the washer is snug against the panel. If you overtighten it, you’ll ruin the washer’s seal and create a potential leak.
Steel roofing, which commanded a USD 13.76 billion market value in 2024, is a go-to choice here in Texas. When you pair steel panels with a Galvalume coating, you get phenomenal protection against our humidity, helping the roof last up to 60 years. To handle the expansion in our 100°F+ summers, a pro will precisely align panels with clips every 12-24 inches. It’s this kind of detail that matters—industry data from sources like Straits Research shows that improper sealing is behind a shocking 70% of early roof failures. To prevent this, always use high-quality butyl tape at the seams and maintain those 6-inch overlaps for a watertight seal.
Prepping Your Roof for Texas Weather and Solar Integration
Installing a metal roof that can truly handle Texas weather means going beyond the standard instruction manual. Down here, your roof isn't just a cover; it's your home's first line of defense against hail, hurricane-force winds, and blistering heat.
Getting it right isn't about "upgrades"—it's about building it correctly from the start. This involves specific material choices and installation techniques that many basic guides simply don't cover.
Fortifying Your Roof Against Hail and Wind
When a classic Texas thunderstorm rolls through, you’ll be glad you focused on impact and wind resistance. A few smart decisions during the installation phase can make all the difference when hail starts falling in Dallas-Fort Worth.
First, think about the metal's thickness. While 26-gauge is common, I always recommend stepping up to a heavier 24-gauge steel. It provides significantly more resistance to denting from hail. You should also make sure the panels you choose have a Class 4 impact rating, which is the highest on the market. This is your best shot at avoiding damage during our notorious hailstorms.
Next, let's talk about how the roof is fastened. For standing seam roofs, using wind-rated clip systems is non-negotiable. These clips are specifically engineered to handle wind uplift, keeping your panels firmly locked down. If you're going with an exposed fastener system, use more screws than the minimum requirement. A tighter fastener pattern adds a ton of extra strength.
In Texas, where the DFW area alone saw over 100,000 hail claims in 2023, a well-installed metal roof can reduce the need for repairs by a massive 80%. This incredible durability is a huge reason so many homeowners are making the switch.
Optimizing for Energy Efficiency and Ventilation
In our hot, humid climate, one of the biggest draws of a metal roof is its energy efficiency. But to get those savings, you absolutely must get the ventilation right. A properly ventilated roof keeps your attic from turning into an oven, which takes a huge load off your air conditioner.
The most effective strategy is to install a ridge vent along the entire peak of your roof. This allows hot, moist air to escape naturally. This vent needs to work in tandem with soffit vents under the eaves, creating a constant flow of air that cools the roof deck and the attic below.
For the best possible performance, especially with our extreme temperatures, good insulation is key. You can find excellent advice on insulating a metal roofed building that covers how to manage both heat and condensation. Proper insulation and ventilation are a powerful combination for year-round comfort.
Managing Solar Panel Detach and Reset
More and more Texas homeowners are going solar, which adds a critical step to any reroofing project: the solar panel detach and reset. Let me be clear—this is not a DIY job. You need a qualified professional to handle this.
Here's why it's so important to get this right:
- Warranty Protection: If you try to remove the panels yourself, you’ll likely void the warranties on both your solar panels and your inverters.
- Safety: Solar systems are high-voltage electrical equipment. One wrong move can be incredibly dangerous.
- Proper Reinstallation: A pro will reinstall the racking system with the correct flashing and sealants. This prevents leaks that could ruin your brand-new metal roof.
The process is straightforward but requires expertise. A certified solar technician will safely disconnect and remove your panels and racking before we start the roof work. Once the new metal roof is on, they come back to reinstall everything, making sure the system is secure and performing as it should.
If you’re facing this situation, we have a helpful guide that breaks down the entire process of a solar panel roof replacement. Working with a company like Hail King Professionals, who can handle both the new roof and the solar detach-and-reset, makes the whole project a lot smoother.
Final Inspection Maintenance and Safety
You’ve laid the last panel and driven the final screw. It’s tempting to call it a day, but what you do next is what separates a good job from a great one. This is the finishing phase—the critical checks, cleanup, and safety protocols that protect your investment and leave your property looking pristine.
Think of these final actions as your last chance to catch small issues before they snowball into big problems. A thorough walkthrough right now can save you from leaks and costly fixes down the road.
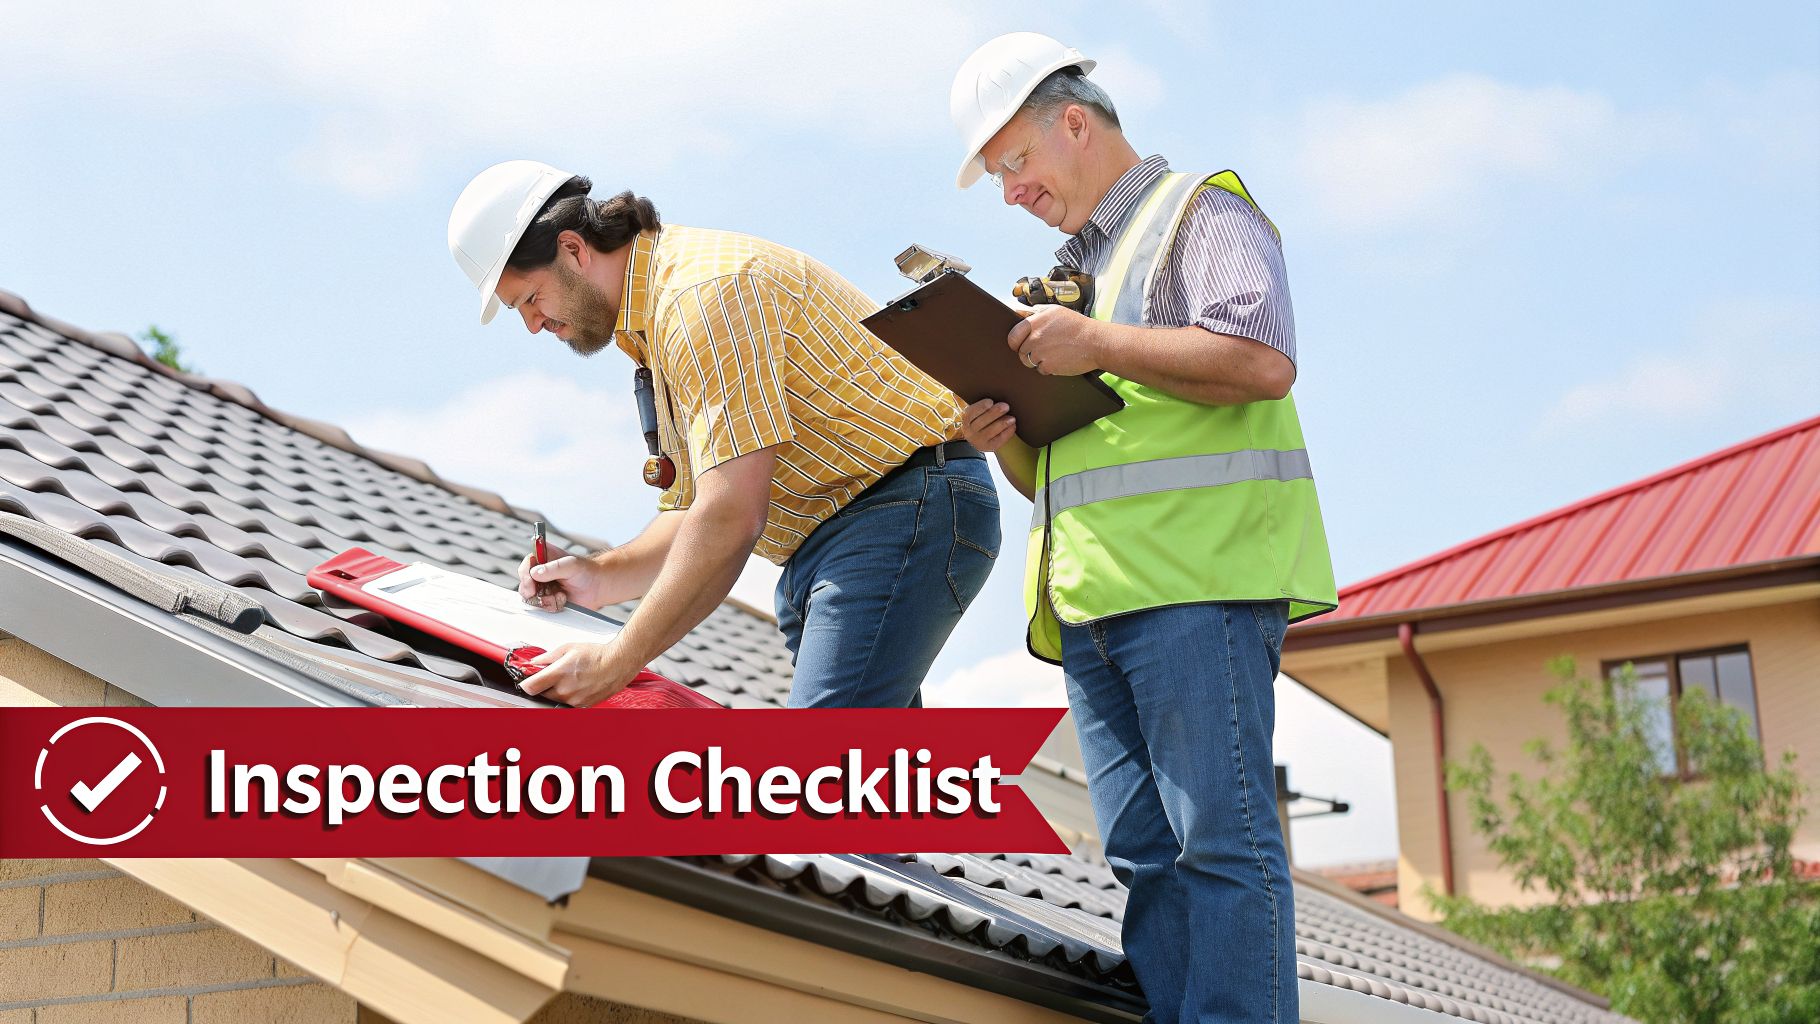
Performing the Post-Installation Inspection
Once the tools are packed up, it's time to put on your inspector's hat. A meticulous final check is absolutely non-negotiable. Grab a pair of binoculars or, if you can do it safely, set up a ladder for a clear view of the entire roof.
Scan the surface for any scuffs or scratches that might have happened during installation; these can compromise the coating and lead to rust over time. Zoom in on your fasteners. Make sure they're all properly seated—not cranked down so hard they break the washer, but not so loose that they won't seal. A perfectly driven screw will cause the rubber washer to create a slight, uniform bulge.
Crucial Takeaway: Pay extra attention to flashing around chimneys, valleys, and vents. This is where 90% of future leaks originate. Ensure every seam is fully sealed with a high-quality sealant and that no gaps are visible.
Taking the time for a comprehensive inspection now is the best way to guarantee the integrity of all your hard work.
Your Final Inspection Checklist
To make sure nothing gets overlooked, it helps to work from a checklist. This approach takes the guesswork out of it and ensures a consistent, high-quality result.
- Panel Alignment: Do all the panels look straight? Are the seams uniform and clean?
- Trim and Flashing: Is all the drip edge, ridge cap, and valley flashing fastened securely and overlapped in the right direction to shed water?
- Sealant Application: Look at the sealant around pipes, vents, and other penetrations. Is it neat, and does it completely cover every gap?
- Fastener Check: Are there any screws that are missing, loose, or overdriven? Every screw counts.
- Surface Condition: Do you see any noticeable dents, deep scratches, or leftover metal filings (swarf) that could rust and stain the panels?
This simple, structured review will help you spot and fix any minor imperfections before they become a headache.
Site Cleanup and Material Disposal
A professional job doesn't end on the roof—it extends to the ground below. Meticulous cleanup is a matter of both courtesy and safety. The most important tool for this job is a large magnetic sweeper. Run it over the entire yard, driveway, and any other surrounding areas.
This step is absolutely essential for picking up stray screws and sharp metal cutoffs. Those little pieces of debris can easily puncture a tire or cause a nasty injury to a family member or pet.
Be sure to properly dispose of all your leftover materials and the old roofing. If you tore off asphalt shingles, you'll need to check with your local waste management service for their specific disposal rules. As for your metal scraps, group them together for recycling—both steel and aluminum are valuable and highly recyclable.
Long-Term Maintenance and Safety
One of the best things about a metal roof is how little maintenance it needs. But "low-maintenance" isn't the same as "no-maintenance." A simple annual checkup is all it really takes to keep your roof in prime condition for decades.
Annual Maintenance Tasks:
- Clean Gutters: Make sure to clear out leaves and debris, especially in the fall and spring, to prevent water from backing up under the panels.
- Inspect Sealants: Give the sealant around vents and flashing a quick look. If you see any signs of cracking or pulling away, it’s time for a touch-up.
- Wash the Surface: If your roof starts to look grimy from dirt or pollen, a simple rinse with a garden hose is usually enough to make it look new again.
Above all else, always prioritize safety. Never walk on a wet or steeply pitched metal roof without proper fall protection, including a harness and a safety rope. If you have any doubts at all, call a professional roofing company for inspections and maintenance. Paying an expert is a small price to avoid a dangerous fall.
Your Metal Roof Questions, Answered
If you’re considering a metal roof for your home in Dallas-Fort Worth or East Texas, you’ve probably got some questions. It’s a big investment, and you deserve straight answers. We’ve put together this list of the questions we hear every day from homeowners just like you.
How Much Does a Metal Roof Installation Cost in Texas?
Let's get right to it: a metal roof costs more upfront than traditional asphalt shingles. There's no getting around that. But the real story is in the long-term value, especially here in Texas. A well-installed metal roof will last 40-70 years, which is easily two or three times what you'd get from a standard shingle roof.
Your final price tag will depend on things like the material (steel vs. aluminum), the panel style you choose (a premium standing seam versus a more economical exposed-fastener system), and how complex your roof is.
But when you start adding up the savings, the picture gets a lot clearer. You're looking at minimal maintenance, incredible storm resistance, and even potential insurance discounts of 15-35% for a Class 4 rated system. Suddenly, the lifetime cost looks much more attractive.
One of the biggest perks for Texas homeowners is the energy savings. Metal roofs with "cool roof" coatings can bounce a surprising amount of solar heat away from your house, cutting A/C bills by up to 20% during our brutal summers.
Can I Install a Metal Roof Over My Existing Shingles?
You might hear that this is an option, often called a "layover." Some local codes might even allow it over a single layer of shingles to save on the labor of a tear-off.
Honestly, we almost never recommend it.
The only way to know for sure what's happening with your roof's foundation—the wood decking—is to tear off the old shingles. We’ve seen it all: hidden rot, slow leaks, and structural weak spots that were completely invisible. Putting a brand-new metal roof over a compromised deck is just asking for major problems down the road. A full tear-off is the professional standard for a reason.
Is a Metal Roof Noisy When It Rains?
This is probably the biggest myth in roofing. Everyone imagines the loud ping-ping-ping of rain on an old tin-roofed barn.
That's just not the case anymore. A modern residential metal roof isn't installed on open framing like a barn. It's installed over a solid wood deck, a high-quality synthetic underlayment, and your attic's insulation. All those layers work together to muffle the sound. Most homeowners tell us their new metal roof is no louder than their old asphalt one—some even find the soft patter of rain soothing.
What Happens if Hail Damages My Metal Roof?
Here in North and East Texas, hail is a major concern. This is where metal roofing truly shines. Most of the systems we install carry a Class 4 impact rating, which is the highest level of hail resistance you can get.
While a truly massive, dense hailstone might leave a cosmetic dent, it's extremely rare for it to actually puncture the metal or cause the kind of functional damage that leads to leaks. With asphalt shingles, that same hailstone would have stripped away protective granules, creating an immediate weak point.
And if a panel does get seriously damaged in a monster storm? A qualified roofer can often replace just that single panel. It’s a much simpler and more targeted repair than what’s required for a badly damaged shingle roof.
Making the right choice for your roof is one of the most important decisions you'll make for your home. To ensure you get a professional, code-compliant installation built to handle Texas weather, put your trust in the experienced team at Hail King Professionals. Get your free, same-day roof inspection today.